










Find out all the admin-relevant content
Recently active
TrendMiner’s security features, such as mandatory SSL setup and NTP server configuration, ensure secure sessions. However, if there’s a time mismatch between your local machine and the TrendMiner server, it can lead to unexpected logouts. If you're logged out immediately after logging in, it is typically related to an issue with the SSL configuration.Troubleshooting Steps: Are you logged out immediately after logging in? Check SSL: Ensure SSL is enabled and the certificate is valid. An incorrect SSL setup can cause immediate logouts. Does it take at least a few seconds before you're logged out? Verify NTP Server Configuration: TrendMiner relies on an NTP server to synchronize time. If it’s not configured, time discrepancies may occur. An NTP server can be configured in Edge manager. Check Local Machine Time: Make sure your local machine’s time matches the NTP server. You can verify this by comparing it to public time sites like time.is. if the issue persists, please contact your Tr
The TrendMiner server needs 2 volumes: a root volume (/root) and a data volume (/mnt/data). TrendMiner data (saved work, tag indexes) are all stored on the data volume. When your usage increases your data volume can run full and will need extension. On a single node deployment you can simply increase the volume in the console.On a virtual appliance deployment console access is not available and you need to add a second disk in your hypervisor. For TrendMiner to recognize the additional disk you need to click the ‘extend disk’ button which you can find in Edge Manager diagnostics. Important note: once a disk is extended it is not possible to claim back the disk space! More details and info on this disk extension procedure can also be found in our documentation: https://documentation.trendminer.com/en/disk-space-extension.html
TrendMiner's monitoring functionality empowers users to create alerts for critical process behaviours. This enables engineers to receive immediate notifications of events that match specific parameters or deviate from expected patterns. (See real-world examples on how to be compliant with ISA 18.2 standards from Bayer and a helpful Tip&Trick to detect short duration events). Learn more about setting up monitors in our user guide.While TrendMiner's default setting allows for 10 active monitors per user, we understand that your needs may exceed this limit. To ensure you can fully leverage TrendMiner's capabilities, we offer the option to increase your active monitor capacity. ↗️By expanding your monitor limit, you can gain even greater control over your processes, proactively identify potential issues, and optimise your operations. Don't let limitations hold you back from maximising the value TrendMiner brings to your company‼️Contact your Customer Success Manager (CSM) or TrendMiner
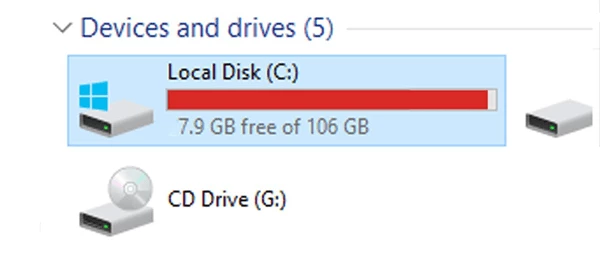
The TrendMiner connector, also known as the Plant Integrations server, operates on Microsoft IIS (Internet Information Services). A common challenge with IIS is that its logs can grow rapidly, potentially consuming significant disk space if not managed proactively.IIS generates log files for each website hosted on the server. These logs are organized into folders named 'W3SVCX,' where X represents the unique ID of the website. For example, on a typical TrendMiner connector setup, you might find log files in directories such as:C:\inetpub\logs\LogFiles\W3SVC1 C:\inetpub\logs\LogFiles\W3SVC2As IIS log management is specific to Microsoft, TrendMiner recommends referring to Microsoft's official documentation for best practices on managing IIS logs effectively.To support troubleshooting efforts, it is advisable to retain the last 10 days of IIS log files. This ensures that any log data required by TrendMiner support is readily available while preventing excessive disk space usage.Proactivel
Tag filters in TrendMiner help you include only the tags you need by using regular expressions. This ensures clean, organized data and avoids syncing irrelevant tags.Only tags that adhere to the regular expression will be synchronised to TrendMiner.Tag filters can be added when creating or editing a datasource:Examples of Tag Filters Match Specific Tags Regex: LINE.[1]+ Effect: Retains only tags starting with "LINE.1". Exclude Certain Prefixes Regex: ^(?:(?!BA:TEMP).).*$ Effect: Excludes all tags starting with "BA:TEMP". Filter by Prefix and Source Regex: ^\[pref\]PI.*$ Effect: Syncs tags with prefix "[pref]" that start with "PI". Tips for Using Tag FiltersTest your regex to ensure it matches the desired tags. Combine with unique prefixes to prevent duplicate tag names.
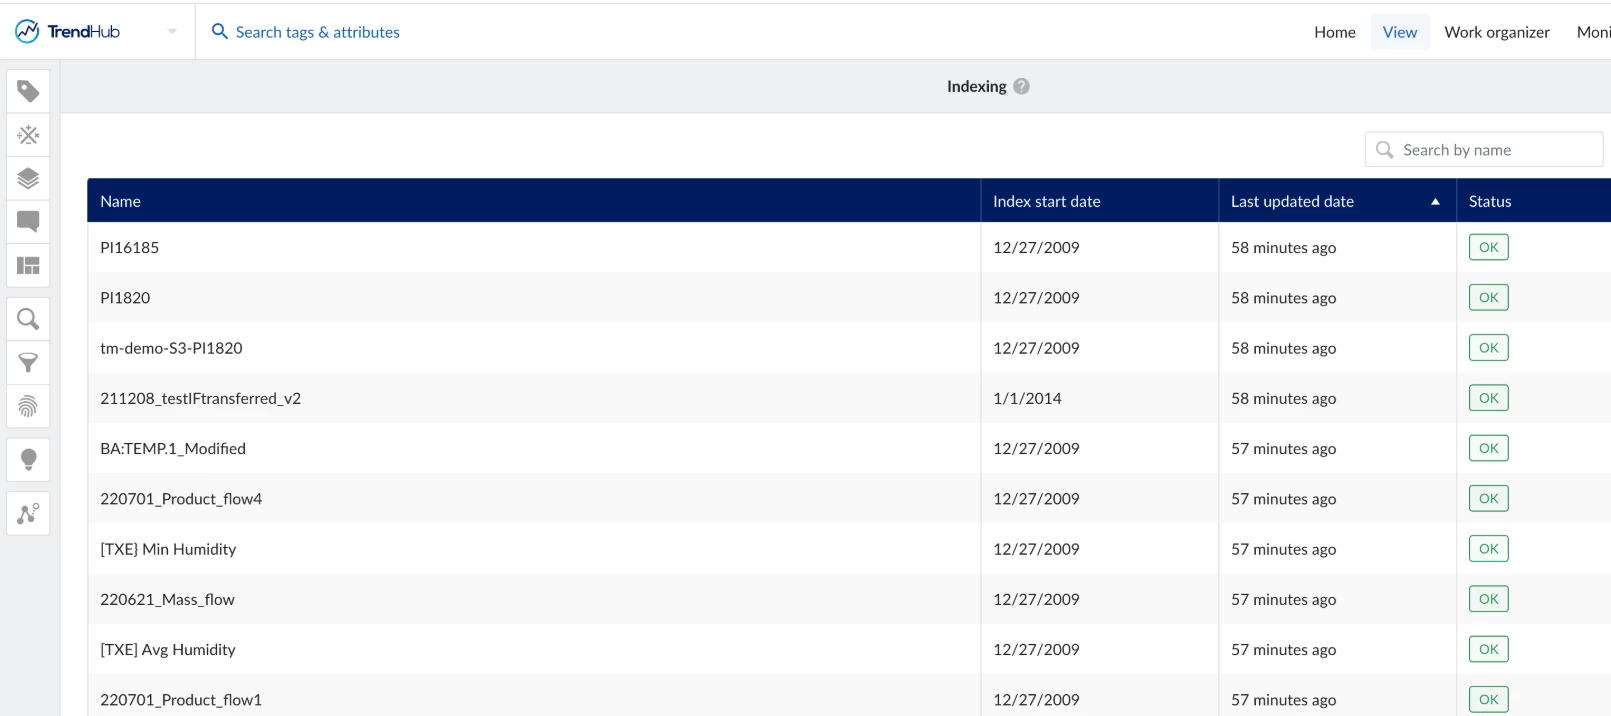
Tag indexes are crucial in TrendMiner since analytics are based on these indexes. Also, tag indexes are used as a sort of cache to chart data which reduces the stress on the historian/data source. For these and other reasons it’s important to have well performing indexing on your TrendMiner installation. There are 2 very simple and easy accessible indicators which can give an idea about the health of your indexing:Index manager: in an ideal case all indexed tags should be updated at least once an hour. To check if that is the case you can open the index manager, sort by ‘last updated date’ and verify that the oldest updates are no longer than 1 hour ago. Check the data source metrics in ConfigHub: if the metrics are bad it could be worth checking for optimizations. There are no strict limits between good and bad performance and other factors like the number of data sources and indexed tags all play a role in the general performance, but in general index operations metrics should no
TrendMiner automatically syncs with your LDAP/Active Directory (AD) provider at regular intervals defined in the LDAP sync settings. For example, if the sync interval is set to 1 day, any new LDAP users or groups added to your Active Directory may take up to 24 hours to appear in TrendMiner’s user or group list.In some situations, this delay may not be ideal. Fortunately, TrendMiner allows you to trigger a manual sync of an LDAP provider to expedite the process. Steps to Manually Sync an LDAP/AD Provider 1. Log in to the ConfigHub Portal: Access the administrative portal for TrendMiner. 2. Navigate to Identity Providers: Under the SECURITY section, locate the Identity Providers list. 3. Select the LDAP Provider: Click on the LDAP provider for which you want to trigger a manual sync. 4. Initiate the Manual Sync: In the LDAP Details panel, click the Options drop down menu, then select Sync Provider. 5. Verify the Results: Once the sync is complete, the newly added users or grou
If you’ve added a new tag to an existing data source, but it’s not showing up in TrendMiner, it’s likely because the automated connector sync only happens every 24 hours.Why Tags May Not Appear ImmediatelyTrendMiner refreshes the data source tag cache every 24h from the moment the data source was added, the connector was last manually synced, or the tm-datasource service was restarted. This means that updates to the list of available tags and their metadata (name, description, units and tag type) can take up to a day to take hold organically.Need the tag right away?You can manually refresh the tag cache to make the new tag available immediately:Navigate to ConfigHub > Data Sources. Select the data source where the new tag was added. Click Refresh Tag Cache to pull in the latest tags.Alternatively, you can also sync the connector to ensure the data source is fully synchronized with TrendMiner.This way, your new tag will be available without waiting for the next scheduled sync.
When creating a ticket for the TrendMiner support team it is useful to include detailed information about the issue. This will ensure that the issue can be investigated and fixed in shortest amount of time possible.Creating a detailed ticket will prevent a lot of back and forth communication and will increase the chance of a quick resolution.Steps on the creation of a detailed support ticket:Write a clear and concise title that describes the issue with a few words.Useful information to include in the ticket description:A detailed and clear explanation of the issue. Screenshots or videos provide additional clarity. Upload the appliance logs. This can be requested from your administrator if you do not have the required permissions: https://documentation.trendminer.com/en/how-to-extract-appliance-logs-.html If there are multiple TrendMiner installations within your organization. please specify which installation you are experiencing the issue on. Which version of TrendMiner are you using?
To ensure security, TrendMiner allows the installation and running of virus scanners next to the TrendMiner application, only on single node deployments and with certain conditions. While antivirus software is an important security measure, it is crucial to note that TrendMiner's performance is closely tied to I/O performance as the application builds a time series index using many small local files, grouped into time-based structures. Virus scanners, particularly those that scan all disk I/O, may still cause performance degradation or failures in some cases. Important Considerations:Performance Impact: Antivirus processes that scan disk I/O can introduce delays, potentially affecting TrendMiner’s responsiveness. In extreme cases, it may cause system failures, such as:User experience degradation due to slower I/O performance and CPU/Memory spikes caused by the antivirus software. Delays in monitoring events, due to slower indexing, related to slower I/O performance TrendMiner upgrade
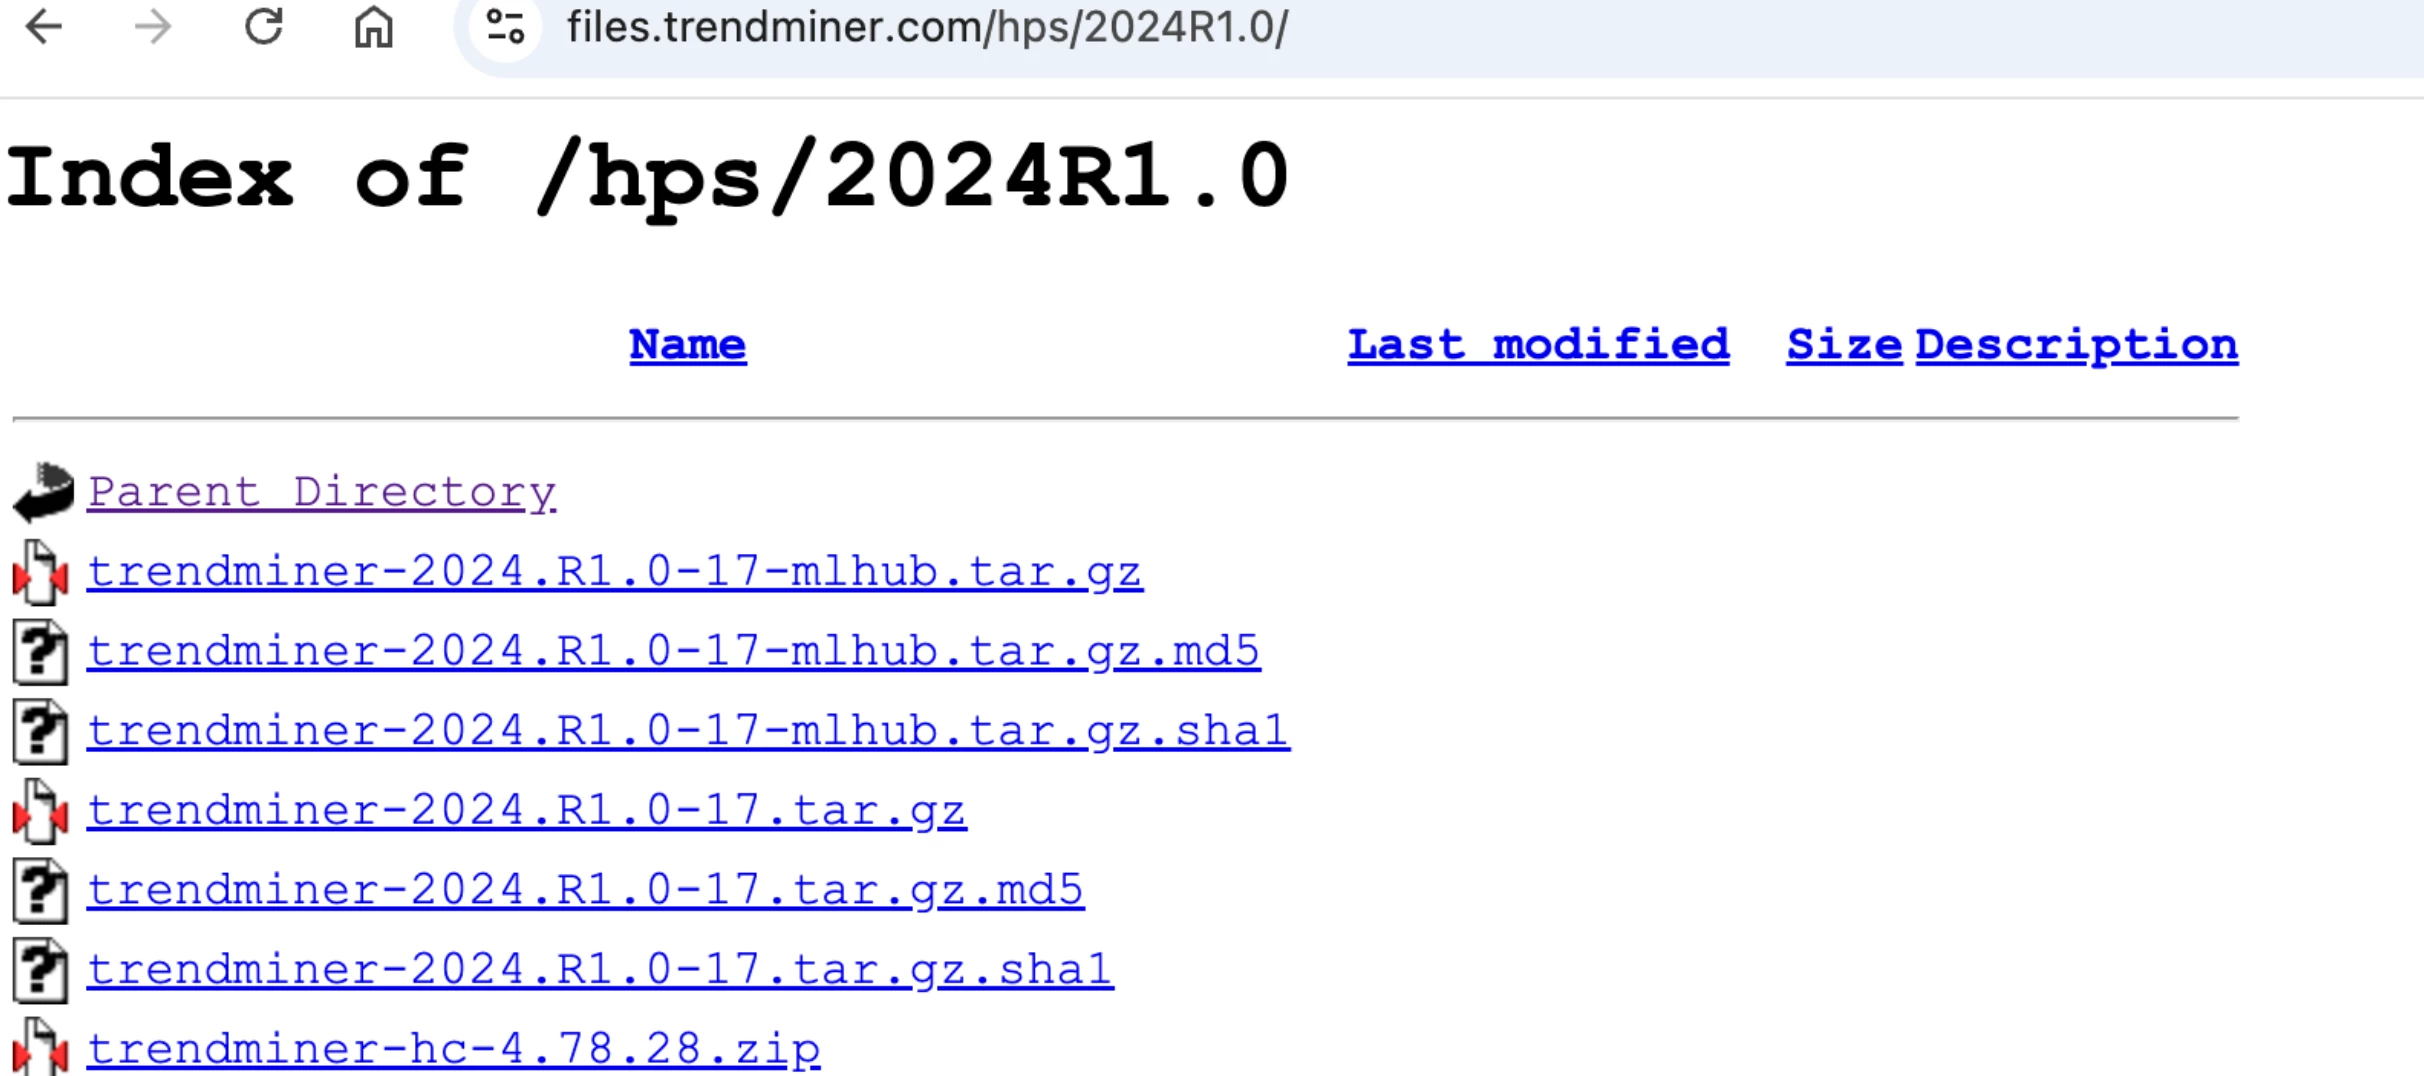
If you ever downloaded TrendMiner from our file server you might have noticed there are a lot of files on there. The .tar.gz files are the actual TrendMiner installation/upgrade packages. The .zip file is the connector installation/upgrade package. But do you know what these .md5 and .sha1 files are? md5 and sha1 are 2 different cryptographic hash functions. A cryptographic hash function is a mathematical algorithm that takes an input of any size and produces a fixed-size, unique output (hash) that appears random. It is designed to be secure, meaning even a small change in the input drastically changes the output, and it is computationally infeasible to reverse or find two different inputs with the same hash.TrendMiner provides the hashes of the installation packages for you as a customer to verify that the file you downloaded is identical to the one which is hosted on our server and the file was not corrupted during download.How do you do that?Download and open the .md5 from our file
If you notice that a certain tag in TrendMiner is displaying data that might be incorrect, you can use the PlantIntegrations API to check which tag data is being retrieved from the historian.If the data in the historian corresponds with the data in TrendMiner, the faulty data is already present in the historian and should be rectified there.To access the PlantIntegrations API you can do the following:Open the IIS server on which PlantIntegrations is installed. Open the IIS manager and click on the PlantIntegrations website. On the right side of the screen you can now choose the ‘browse’ option which will lead you to the API. This will lead you to the following API page: To perform an index call here you need the following information:Tag name Historian name Tag type Interpolation type Start- and enddate of the period you want to request Number of intervalsYou can find an example of an index call below in which the parts in green need to be configured depending on the call you want to
In our 2024.R1.0 release we introduced an additional layer of security, meaning an OTP code is mandatory to use the Admin account. (for ConfigHub and TrendHub login)You can read more about this in the article from Jef Vanlaer here.While trying to authenticate with the Admin account, I ran into following error message: Invalid authenticator codeI found out that the root cause of this error is due to my TrendMiner server time not being in sync, thus the server thinks that the code I am providing is long expired/not valid yet. After resolving the NTP issue my Admin login is working without issue again.
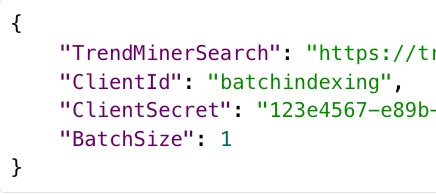
As you might already know TrendMiner provides some support scripts to make some tasks easier. Today we have 5 official support scripts: batch indexing: indexes the tags in a given list indexing performance testing: benchmarks the indexing performance provided by a historian at specific index resolutions listing tags in a historian: lists all tags available to TrendMiner for a specific historian listing indexed tags: lists all tags currently indexed in TrendMiner cleaning indexes: clears the index of those tags that match the provided criteria All details can be found in this documentation article: https://documentation.trendminer.com/en/support-scripts.html But next to these scripts you can also leverage the TrendMiner APIs to write your own script in your favourite language. For example: clean all indexes of a list of tags provided via a .csv file.Did you write your own scripts already? Which scripts would you like to see productised in TrendMiner? Let us know!
TrendMiner does not support changing the (interpolation) type of a tag in the data source. This implies that for example when you change a tag from linear to stepped interpolation in your historian the tag will not load anymore in TrendHub and an error will be shown. You will also notice that the tag index can no longer be updated and goes to a STALE state.TrendMiner support can typically derive this from the logfiles, but if you already know this is the root cause of the problem then there are a few steps you can perform to resolve the issue.Refresh the tag cache manually in ConfigHub for the data source the tag is synced from (or wait up to 24h for the changes to be synced automatically) Restart the tm-compute service in ConfigHub or Edge Manager. Keep in mind that restarting tm-compute will entail downtime for the users (typically a few minutes). Re-index the tag. Edit and save all calculated tags and searches which depend on the changed tag (it is not required to make any chang
On June 20th, we hosted an admin webinar to prepare our admins for the upcoming 2024.R2.0 TrendMiner release. With this release, we are moving to a new Operating System (OS) given the end-of-support for Red Hat Enterprise Linux 7 (RHEL 7) and the derived CentOS 7.Two actions will be needed to upgrade your TrendMiner setup to version 2024.R2.0 once it is publicly released:The creation of a new TrendMiner server based on the new OS A migration of the application data to the new serverThis webinar details the prerequisites and steps to be taken to complete these actions.Additionally, it explains the migration options, including the new and highly recommended full system backup/restore functionality with secure storage on your own AWS S3 or Azure Blob Storage, which includes index migration. A detailed demo of this process is provided.Finally some important considerations and recommendations for planning the migration are outlined.Check out the recording below and refer to the "OS Migratio
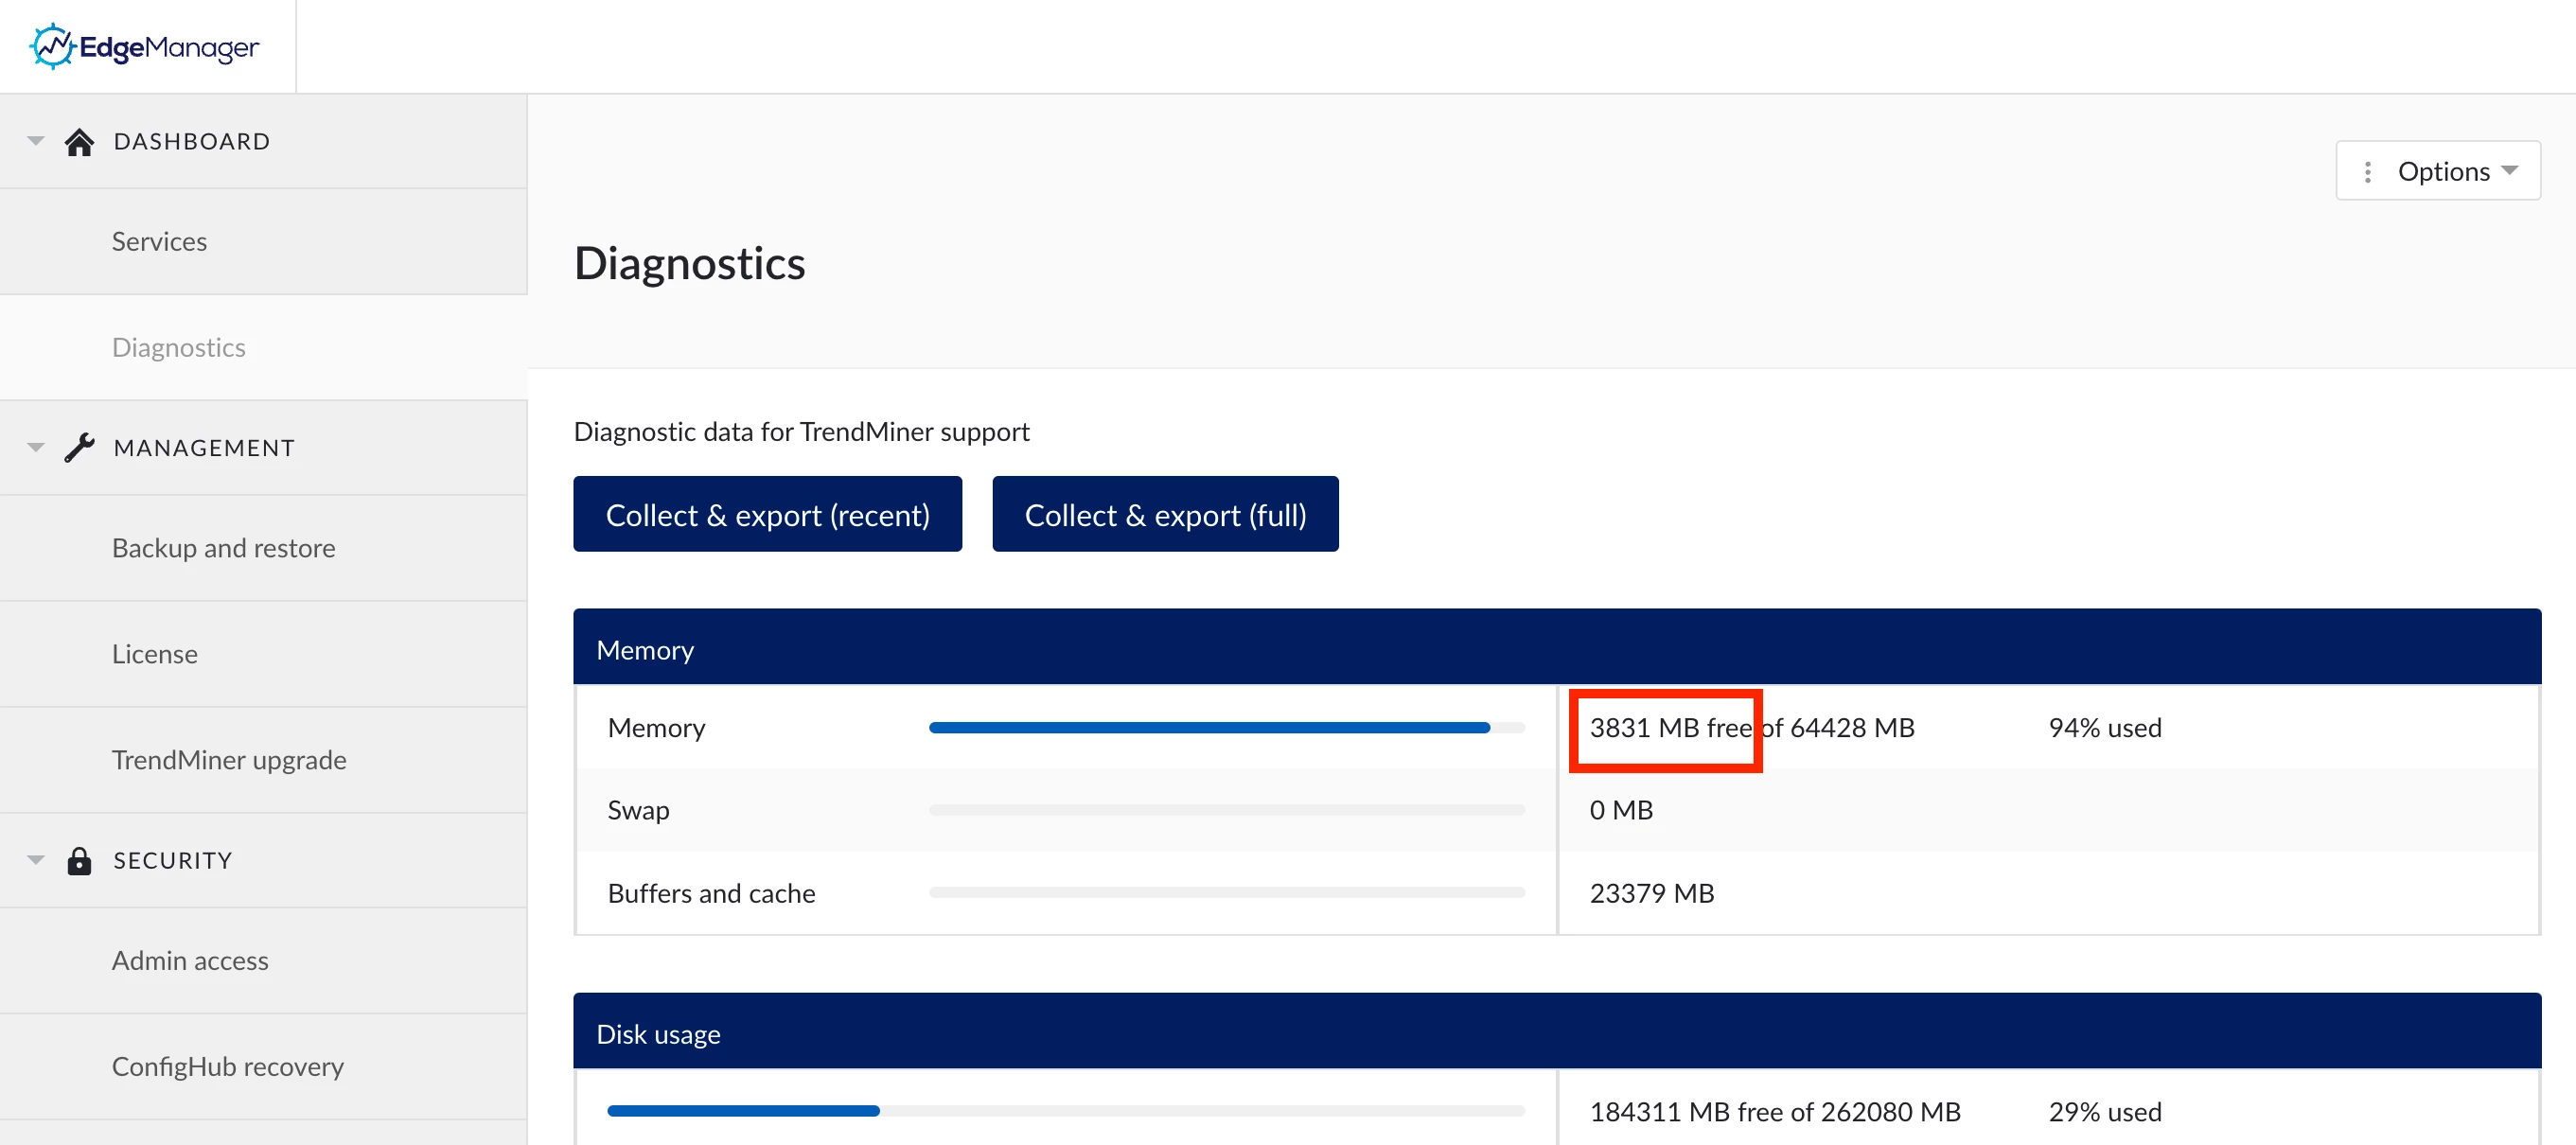
In Edge Manager → Diagnostics the available disk space and the total disk space of TrendMiner can be checked. The disk space shown there shows the space on the /mnt/data volume (the volume on which the TrendMiner appliance is installed and on which TrendMiner stores its data).Next to the /mnt/data volume there is also the root volume, on which the OS and system services are running. Both the root volume and the /mnt/data volume can run out of disk space which in both cases will result in service interruption.The root volume total disk space and usage is not shown in Edge Manager since TrendMiner does not actively use this volume. Disk space issues should not occur on this volume if the system requirements are met.The /mnt/data volume is used by the TrendMiner application for storing data. This data mainly consists of: Info stored in the database, e.g. saved work from users. Index data Logically, the more usage of TrendMiner and the more tags are being indexed, the more disk space wil
Sometimes we get contacted by admins who are concerned about the memory usage of their TrendMiner installation. In Edge Manager -> Diagnostics you can check the amount of memory (RAM) available for the TrendMiner server and the percentage of memory which is used. In most cases, when you check these numbers you'll notice that the usage is over 90%, often even close to 100%. Rest assured, this is not an issue. Linux (the OS on which TrendMiner runs) uses all available memory for optimal performance, instead of leaving it unused. If you are interested to read up on all the details we can advise to check this site: https://www.linuxatemyram.com (disclaimer: this is an external website, unaffiliated to TrendMiner and TrendMiner is not accountable for the site nor its content). So how does TrendMiner use its available memory?Each microservice in TrendMiner gets assigned a fixed amount of memory based on the needs of the service. Our engineers make sure everything fits within the minimal
Red Hat Enterprise Linux 7 (RHEL 7) and the derived CentOS 7 are nearing their end of support. To ensure continued reliability and security for TrendMiner, we are transitioning TrendMiner to run on to the long-term supported Red Hat Enterprise Linux 9 (RHEL 9) and AlmaLinux OS 9 distributions. Infrastructure can already be prepared based on these new OS’s and the new system requirements. A new pre-packaged virtual appliance image based on AlmaLinux 9 has been made available for this purpose.Migration optionsThere are 2 options to migrate the existing server data to the new instance:Full migration including index data based on remote backup & restore (Azure Blob Storage or AWS S3 Bucket are the supported options) Work migration excluding index data based on local backup & restoreThe full migration is highly recommended as it will ensure the smoothest migration path with the least disturbances for end-users.Full details, with additional considerations, can be found in our documen
On April 9th, 2024 we hosted an exclusive webinar to discuss relevant topics for TrendMiner admins related to the 2024.R1.0 and upcoming releases (recording below).The following topics were covered:What’s new in 2024.R1.0?A quick overview of functional updates and newly available connectivity options. In 2024.R1.0, we added connectivity for Eschbach Shiftconnector, Wonderware 2020 and 2023 and Aspen APRM v14. A complete overview of supported connectivity options is available here.Admin roles comparedTrendMiner 2024.R1.0 introduces a new admin layer to better separate Infrastructure, System and Application administration tasks. Refer to this topic for a complete overview.About the upgradeThe 2024.R1.0 release introduces some major security improvements in ConfigHub and the way you can access ConfigHub. Refer to this documentation article to learn how to access ConfigHub after the upgrade by resetting the admin user password via Edge Manager. It is advised to only use the admin user for
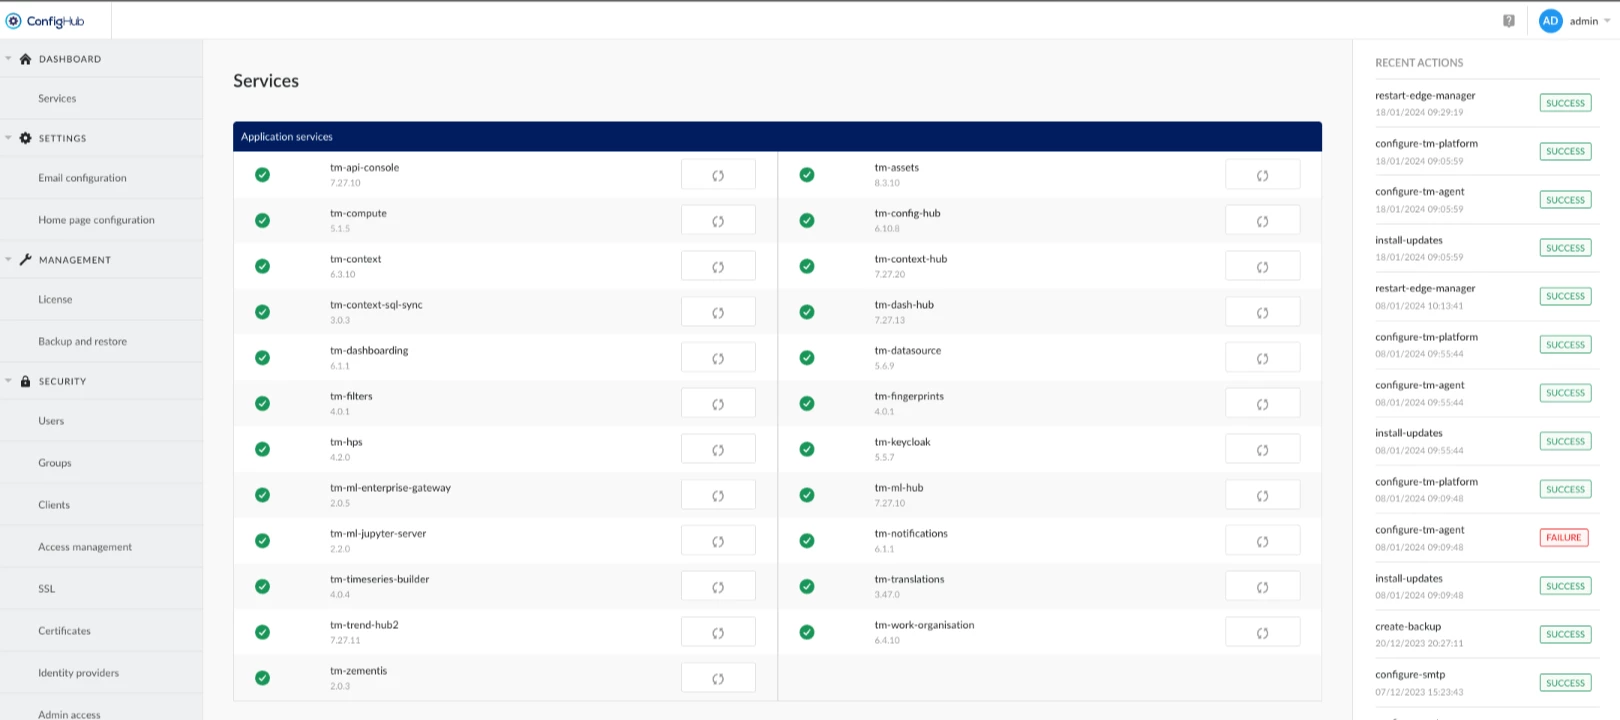
Since TrendMiner version 2023.R3.0 configuration settings have been split up between Edge Manager and ConfigHub. This way, tasks specific to infrastructure admins and system admins are clearly separated and access permissions can be aligned with your organizational structure.Edge Manager is the TrendMiner interface for infrastructure admins. It mainly contains functionality to keep your TrendMiner installation healthy and up-to-date. Edge Manager is not available to SaaS customers as infrastructure administration is taken care of by the TrendMiner team. On virtual appliances, some additional menus for virtual appliance configuration will be available, which do not appear on self-managed single node or private cloud setups. The following tasks can be done from Edge Manager:Checking the health status of TrendMiner services Downloading appliance logs for troubleshooting purposes Gaining insights into memory usage, disk usage (including adding more disk space), CPU usage and time settings
The TrendMiner setup knows 3 different administrator roles:Infrastructure administrator (taken care of by TrendMiner for SaaS setups) System administrator Application administratorThe table below provides an overview of these roles, required skills and access permissions, example tasks and where to perform these tasks in the TrendMiner User Interface.Obviously, one person can take up multiple admin roles, but as different types of tasks are typically distributed over multiple people or teams, these roles permit to match TrendMiner administration to your organizational structure. Infrastructure administrator System administrator Application administrator TrendMiner UI Edge Manager ConfigHub TrendHub, ContextHub, TrendMiner API Description The infrastructure admin is responsible for installation and maintenance of the TrendMiner servers on infrastructure, network and security l
Already have an account? Login
No account yet? Create an account
Enter your E-mail address. We'll send you an e-mail with instructions to reset your password.